
Over the years, my kids have added a lot of homemade ornaments to our Christmas tree, but this adorable Santa Handprint Christmas ornament is probably my favorite! Just seeing the difference in size between my youngest and oldest’s prints makes me appreciate how quickly the time goes; I am so glad to have a sentimental reminder of these little hands at Christmastime. Plus, it’s pretty cute, too 😉
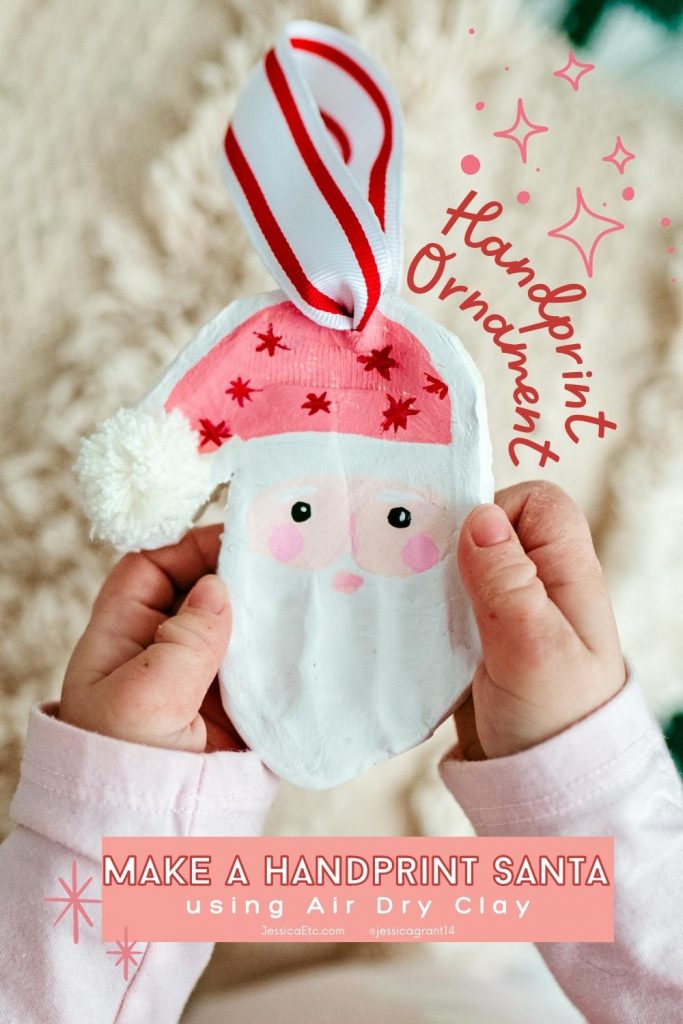
To make these cutie ornaments, all you will need is air dry clay and acrylic paint.
Knead the clay between your hands to make it softer and easier to work with. Roll out to about 1/4″ – 1/2″ thick. It can be sticky so I recommend putting it on a cookie sheet, wax paper or other placemat.
Have your child make a “mitten” with their hand (4 fingers together and the thumb slightly apart). Place their hand on the clay and press down. Help make a clean print by pressing down on top of their hand and each finger. Lift their hand straight up, leaving a little handprint (seriously, so cute)!
Trim a border around the print and remove the extra clay. Make a hole in the palm using a straw. Allow to dry 24-48 hours. To help it dry , I placed our handprints on a baking rack to evenly dry from both sides.
Troubleshooting: If your clay cracks as it’s drying, try these fixes. Be sure the clay is not rolled too thin. Slow drying time ; you can do this by placing cling-wrap over the handprints as they dry. Dry all sides evenly; either flip as it dries or I recommend placing it on a baking rack.
Paint a Santa Handprint Christmas Ornament
Once the clay has dried, it is time to paint! The palm will be Santa’s hat and the fingers will be his beard. I used a pencil to lightly draw outlines of the different areas so that my kids could see it while they were painting. Even younger kids can follow the blocks of color to paint their own ornament. Allow paint to dry between each area.
Use white paint for the beard and hat fluff. Pick a color for Santa’s hat; my girls wanted pink and my son chose red. Next, paint Santa’s skin.
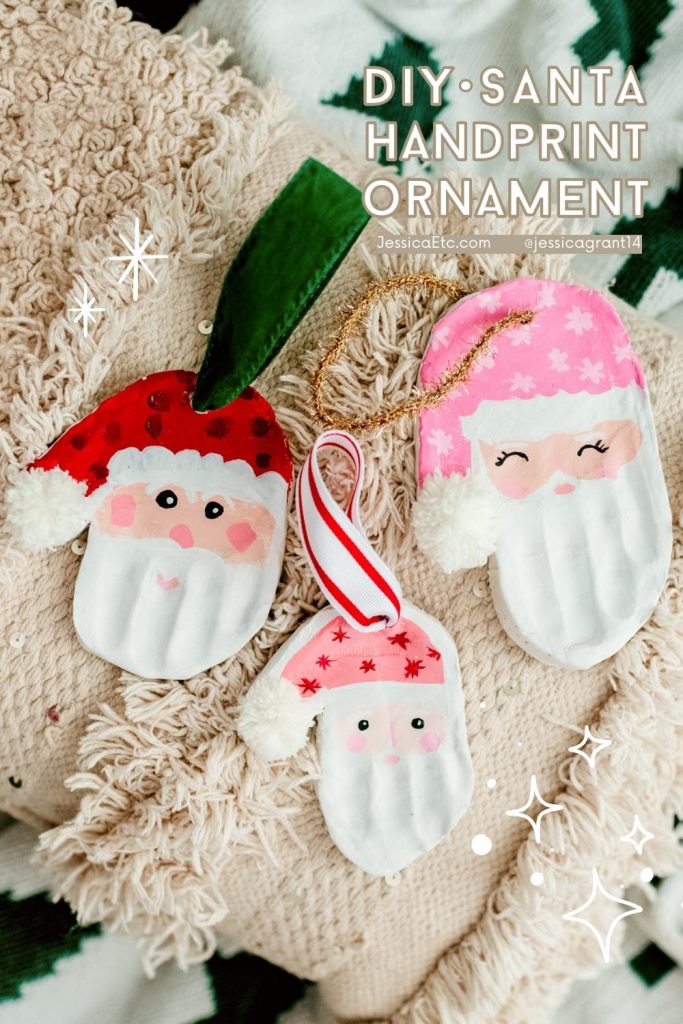
After they finished painting, I helped them do a few touch ups with the white paint on the hat fur and beard to reframe the face.
After the paint has dried, you can begin adding the details like his eyes, cheeks, and nose. My kids also wanted to add fun patterns to the hats!
To finish these sweet keepsake handprint Christmas ornaments, we made mini pom poms for the hats. Add a ribbon or yarn to hang from your tree!
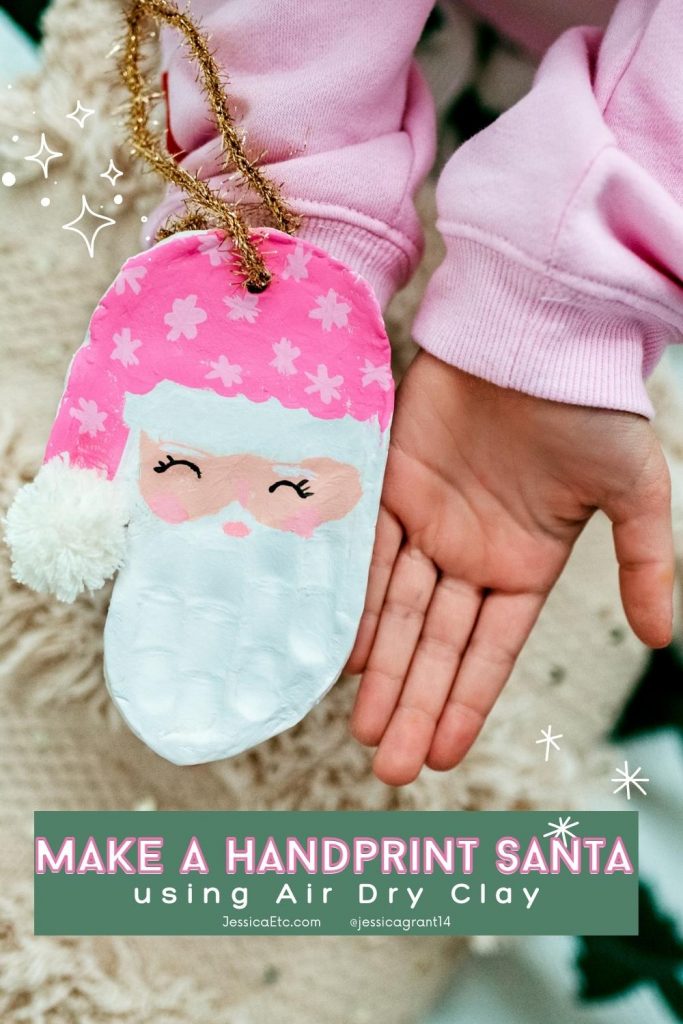
Tag me on Instagram if you made one, I’d love to see your creations!




What do you think?