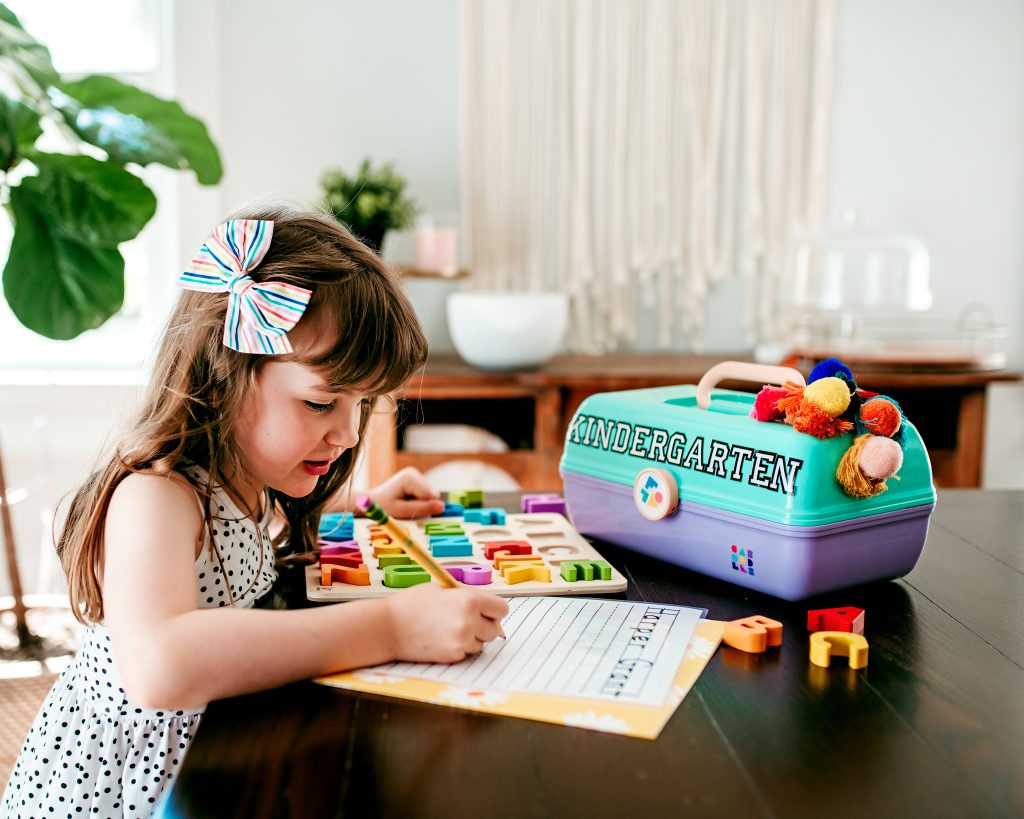
Like almost everything else this year, getting ready to go back to school in 2020 feels kind of wild. We aren’t browsing the Target school supply aisles with a Starbucks in hand. There’s no new backpacks or school clothes. Instead we’re searching for sold-out desks and comfy child-sized loungewear. We’re brushing up on our own study skills as we get ready to take part in our kids’ schooling like never before. With so many families adapting to plans for virtual learning or opting to homeschool, there is an increased need to find solutions for learning at home. Whether it takes place at a new desk in a dedicated space or clearing a space at the kitchen table- or bouncing between the two; if there’s one thing I know it’s that we’re all going to be looking for remote school supplies storage solutions. I want to share this portable Kindergarten supplies kit that I made for Harper to keep all of her daily essentials organized no matter where she’s learning!
My intention for this kit is to create a designated space to keep all of her supplies that she’ll need for starting the school year remotely. It’s a special spot JUST for her school things that can be moved around and stored but also easy for her to find and use on a daily basis. The last thing I want to do at 9am every morning while I’m waiting for her Zoom class to connect is run around the house looking for markers (seriously, we lost the red marker 5 times last week alone) or tracking down where her brother hid her sight words.
I’ve linked everything you’ll need in step-by-step directions for this simple project! Simply click the products below and add it to your cart!
Step 1: Choose a Box
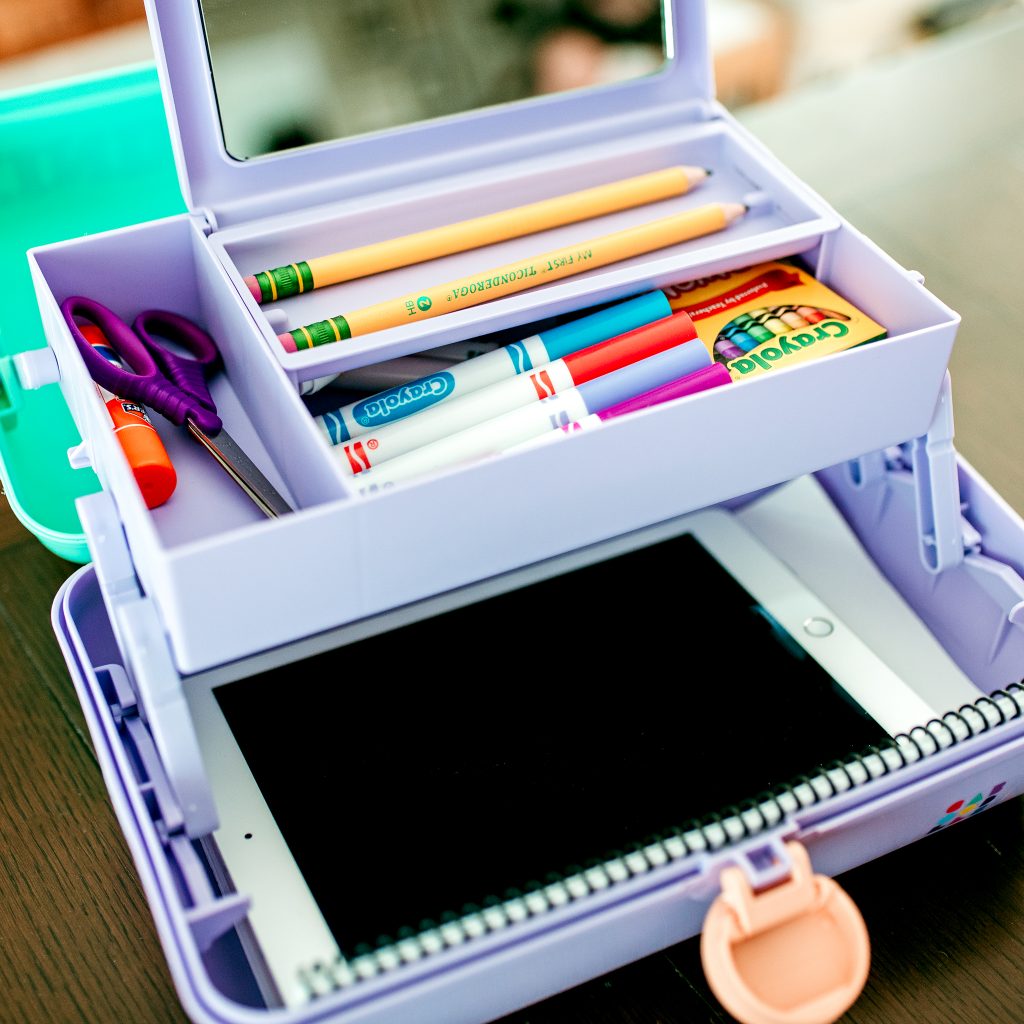
Yep, I’m throwing it back to our childhood with a good ol’ Caboodles organizer box! These are so perfect for school supply storage and the fun colors are just a bonus! The upper part will hold pencils, crayons, markers, glue. The lower will fit her notebook, iPad, and notecards. Its various storage compartments are perfect to customize for each child’s needs! (I also love the flip up mirror that Harper will be able to use for speech class!)
Step 2: Personalize!
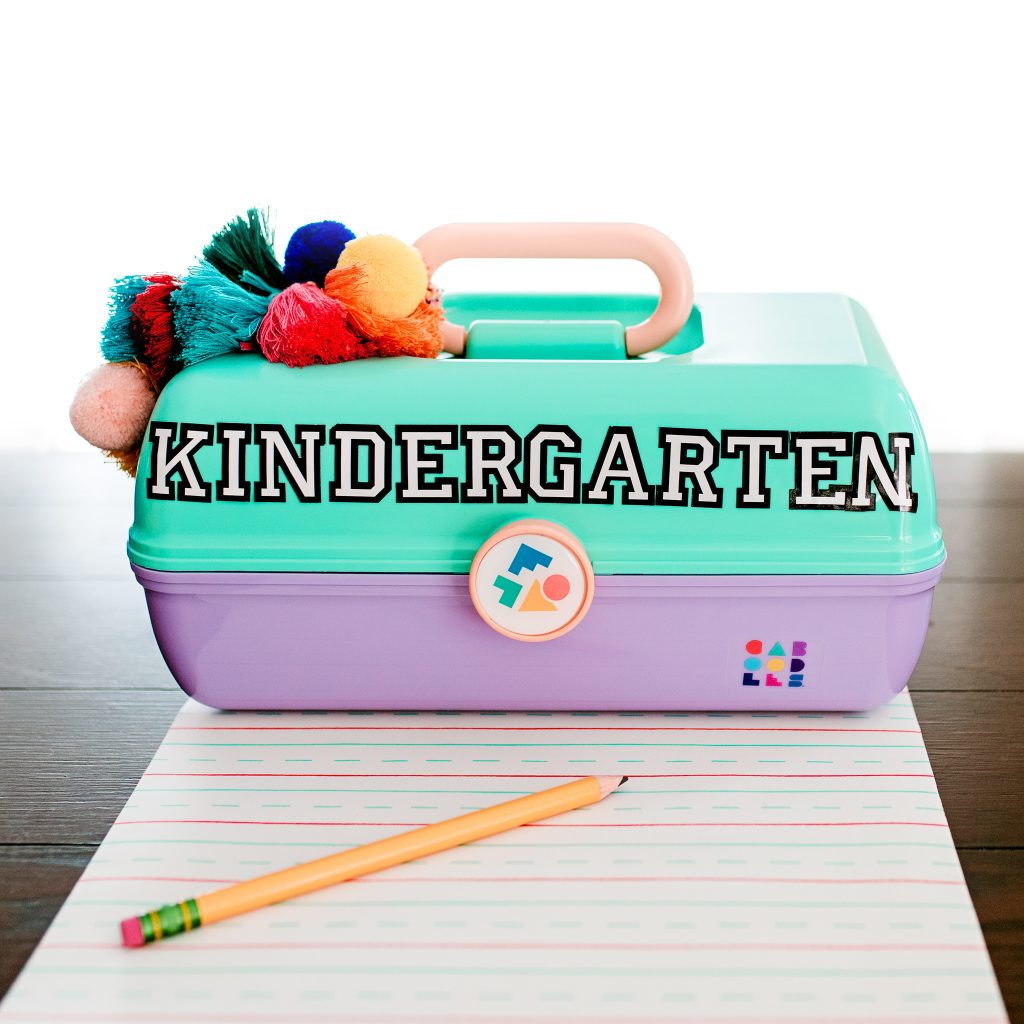
I used Varsity letter stickers to write her grade on the top of the box, but you could also add a name or initials!
Step 3: Add Flair!
This is the best part!! Whether you attach pom-poms in their favorite color, ribbons, or stickers of their favorite things, this is the part that makes it extra special just for them!
I know the beginning of this school year is weird to say the least, but hopefully making a fun school supplies kit will bring back a little bit of the excitement of a new school year!

I’d love to see your kits, tag me on Instagram @jessicagrant14 !!
Pin It for Later!





What do you think?