I may receive a small commission (at no extra cost to you!); as always, I appreciate you shopping my links!
These are the exact items I used (tap image to shop):
And here are some similar options to make a more colorful variation!
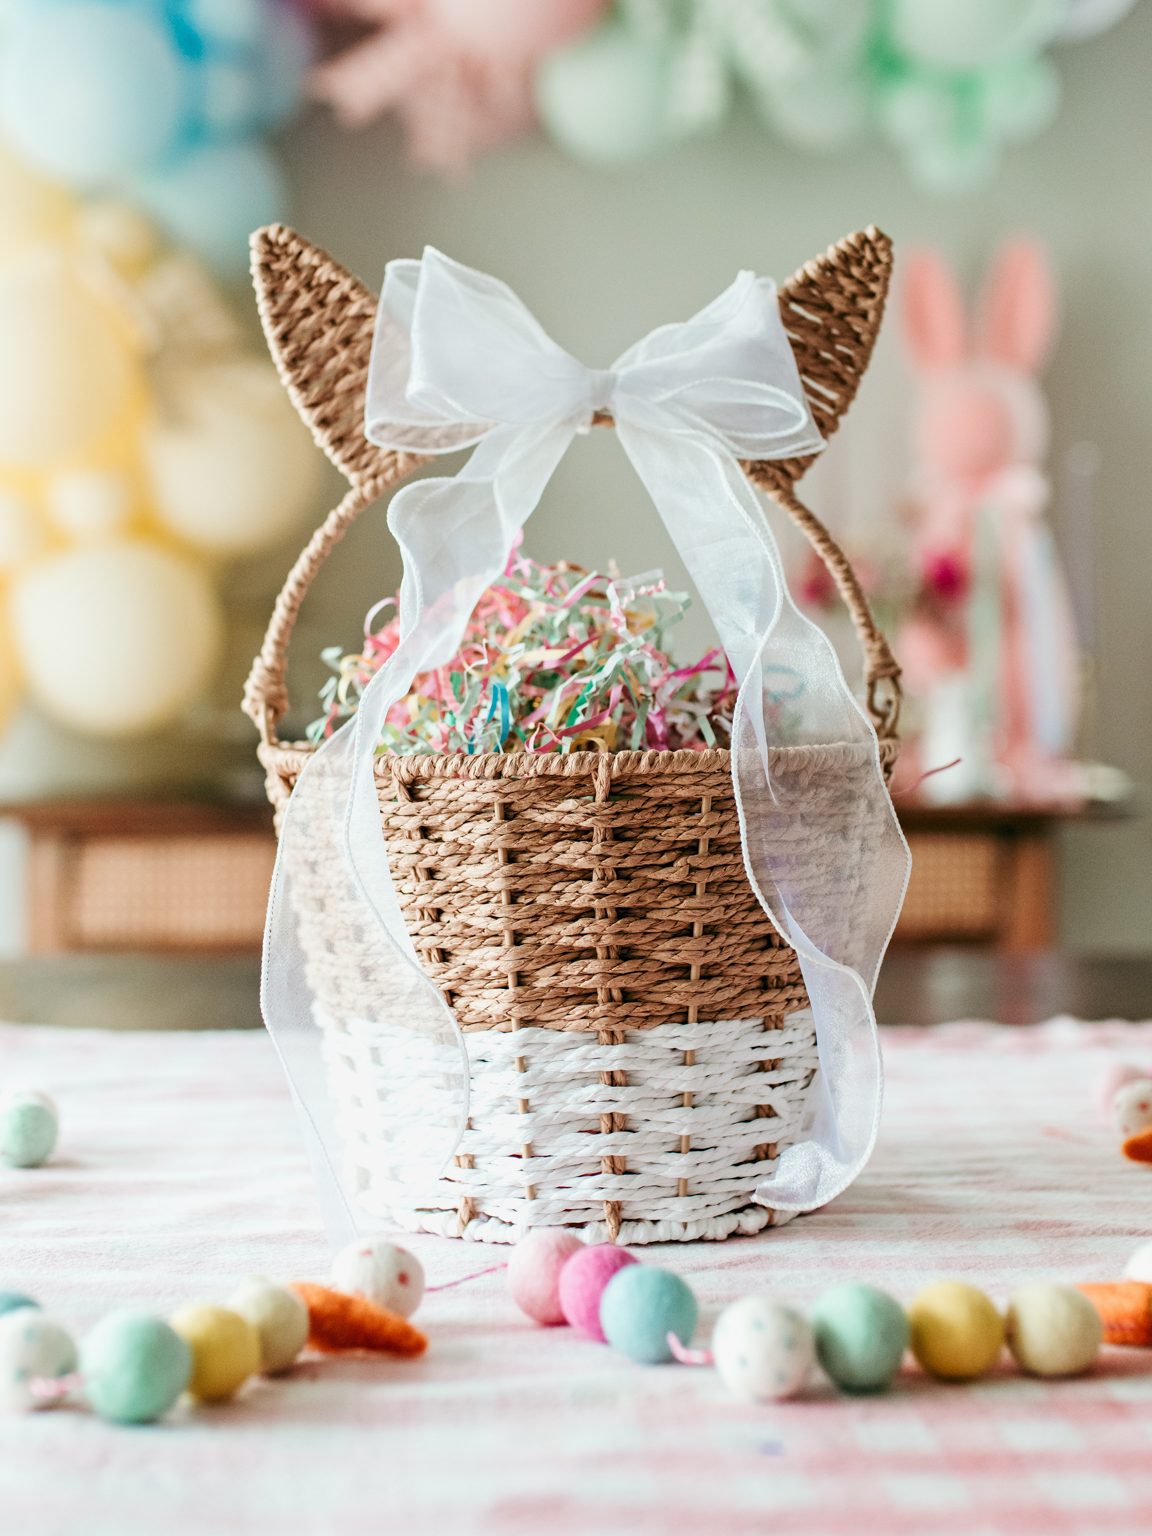
You know when you see something cute in the store, and then you think, “but it would be even better if…” – welcome to my brain 😅. I’ve had my eye on this bunny ear basket for a while, and when I finally got my hands on one (they were impossible to find last year!), I knew I had to give it a quick and easy glow-up with sweet pretty long-tailed hair bow I saw hanging in an aisle nearby. Spoiler alert: it only takes a minute or two, and the result is just chef’s kiss cute. 🎀
Supplies You’ll Need:
- Bunny ear basket (mine is linked here)
- Hair bow
- Mini zip tie (or hot glue/E6000 for a permanent option)
- Scissors (to trim the zip tie)
Step-by-Step Instructions
Step 1: Gather your supplies
Start with a bunny ear basket and a cute bow (or tie your own!).
Step 2: Attach the bow
Position the bow where you want it—I liked it front and center between the bunny ears. Use a small zip tie to secure it tightly through the bow’s clip or center.
Step 3: Trim and tuck
Use scissors to trim the extra length off the zip tie, then tuck it in so it’s hidden inside the basket or behind the bow.
Optional: If you don’t plan to reuse the bow later, hot glue or E6000 will give you a more permanent hold.
Step 4: Fill it up!
Now for the fun part—fill the basket with your Easter goodies, grass, treats, small toys, or anything else you’re including in your celebration.

This simple DIY adds such a sweet touch, and I love that I can remove and reuse the bow later on if I want to change things up. It’s little details like this that make holiday prep extra special!
Happy Easter crafting, friends! 🐰🎀
xo,



What do you think?