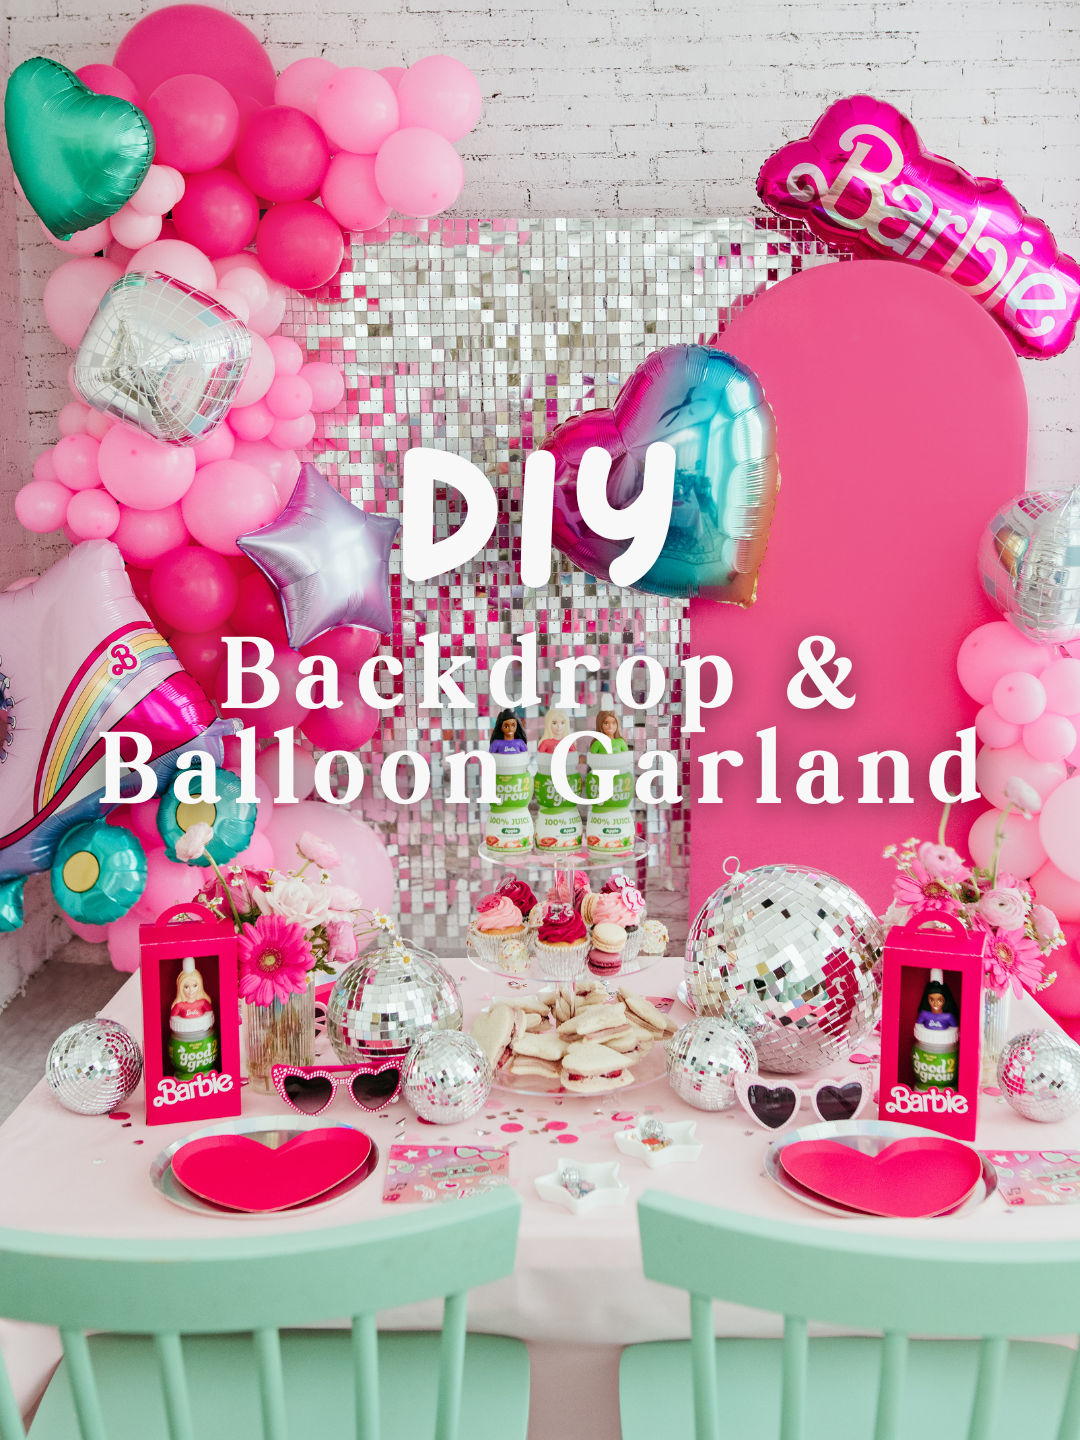

How to Make a DIY Balloon Garland: A Simple Step-by-Step Tutorial
Balloon garlands are one of my favorite ways to make any celebration feel extra special. Whether it’s a birthday party, baby shower, holiday gathering, or just a fun family moment, a balloon garland just instantly creates that wow factor- and it’s surprisingly easy to do at home!
I’m sharing exactly how I put one together, step-by-step, using some of my favorite party decor supplies and techniques that I’ve picked up through the years.
Step 1: Inflate Your Balloons
Use an electric balloon pump to blow up two balloons at a time. Vary the sizes slightly for a more organic look!
Tip: Gently push down on each balloon after inflating to release a little air and keep that round shape.
Instead of tying the balloons individually, tie each pair together to make a duo.
Step 2: Build Larger Clusters
Twist two duos together to form a quad (a cluster of four balloons).
Then, take two balloon quads and tie them together using balloon necks from the centers of each of your quads. These fuller clusters will form the main body of your garland.
Step 3: Assemble the Garland
Tie a long “balloon animal” balloon (also called a “260”) into a loop. Use the loop to connect balloons from two different clusters. Continue using loops to add more clusters until your garland is the desired length.
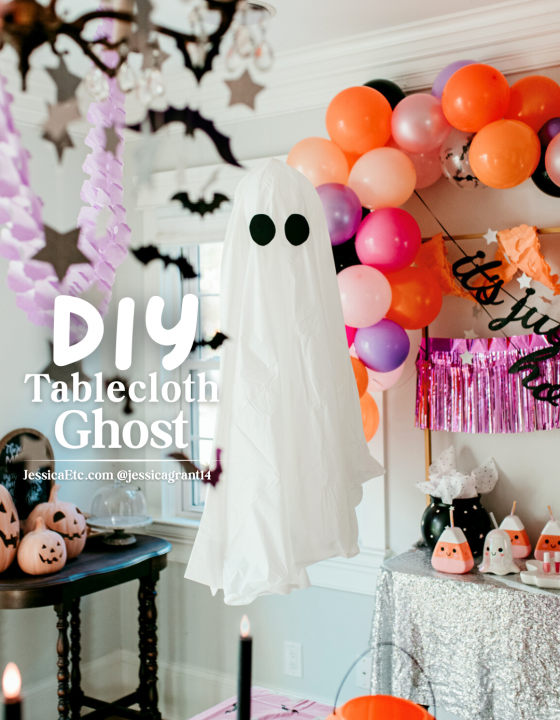
Step 4: Attach to the Backdrop Stand or Wall
Use balloon clips, command hooks, or zip ties to secure your garland to a backdrop stand, arch frame, or wall. Start from the top and work your way down or across.
Step 5: Fill It In!
Tie additional mini balloon clusters (3-5 balloons, typically 5″) to each end of a 260 balloon to fill in gaps. You can also add additional full size clusters to areas like corners or gaps to add depth and balance.
Step 6: Add Foil Balloons or Accents
To attach foil balloons, create another small balloon loop, tape it to the back of the foil balloon using gaffer tape, then gently wrap it around a balloon in the garland where you want it to go.
Step 7. Adjust Colors or Placement
Once your garland is in place, step back and take a look! Adjust clusters as needed, tuck in extra balloons, and make sure the shape flows nicely. The garland is super flexible and easy to reshape as you adjust different sections to get the look you want.
Final Touches
Once everything is in place, your DIY balloon garland is ready for party photos, cake cutting, or just a major wow moment for any celebration!
Balloon garlands might look intimidating, but once you make your first one, I promise you’ll want to make them for every occasion. It’s an easy, affordable way to create a big party impact- and the best part is how customizable they are for any theme!
If you try this balloon garland tutorial, tag me on Instagram @jessicagrant14– I’d love to see your party setup!


What do you think?